
Setup
The following actions should be performed by the "root" user.
Make sure the "/etc/hosts" file contains correct entries for both the "localhost" and real host names.
127.0.0.1      localhost localhost.localdomain localhost4 localhost4.localdomain4
192.168.56.133 ol6.localdomain ol6
Create a new group and user.
groupadd -g 54321 oinstall
useradd -u 54321 -g oinstall oracle
passwd oracle
Create the directories in which the Oracle software will be installed.
mkdir -p /u01/app/oracle/product/12.2.1
mkdir -p /u01/app/oracle/config/domains
mkdir -p /u01/app/oracle/config/applications
chown -R oracle:oinstall /u01
chmod -R 775 /u01/
Append the following entries into the "/home/oracle/.bash_profile" file.
# Adjust paths as required.
export ORACLE_BASE=/u01/app/oracle
export ORACLE_HOME=$ORACLE_BASE/product/12.2.1
export MW_HOME=$ORACLE_HOME
export WLS_HOME=$MW_HOME/wlserver
export WL_HOME=$WLS_HOME
export DOMAIN_BASE=$ORACLE_BASE/config/domains
export DOMAIN_HOME=$DOMAIN_BASE/mydomain
export JAVA_HOME=/u01/app/oracle/jdk1.8.0_144
export PATH=$JAVA_HOME/bin:$PATH
Install the JDK.
# su - oracle
$ cd $ORACLE_BASE
$ tar -xvzf /tmp/jdk-8u144-linux-x64.gz
For Oracle Linux 6, as specified in MOS Note [ID 1487773.1], amend the "/etc/security/limits.d/90-nproc.conf" file, making the following change.
# From
*          soft    nproc     1024

#To
* - nproc 16384
Installation
The images were originally captured from a 12.2.1.0 installation. The process is the same for 12.2.1.2.
Run the installer as the "oracle" user.
$ unzip fmw_12.2.1.2.0_infrastructure_Disk1_1of1.zip
$ $JAVA_HOME/bin/java -jar fmw_12.2.1.2.0_infrastructure.jar
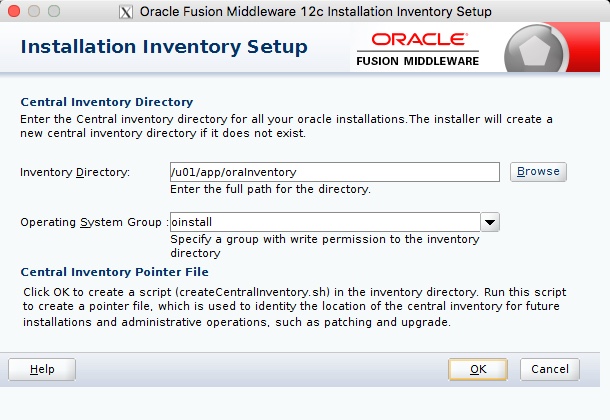
If this is is the first installation on the machine you will need to specify an inventory location. Enter the inventory location, like "/u01/app/oraInventory" and click the "OK" button.
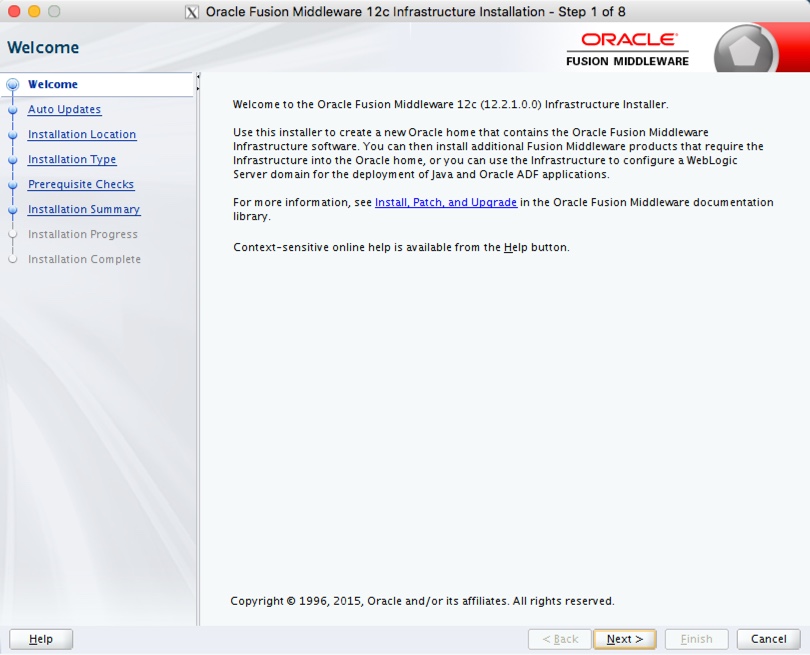
Click the "Next" button on the welcome screen.
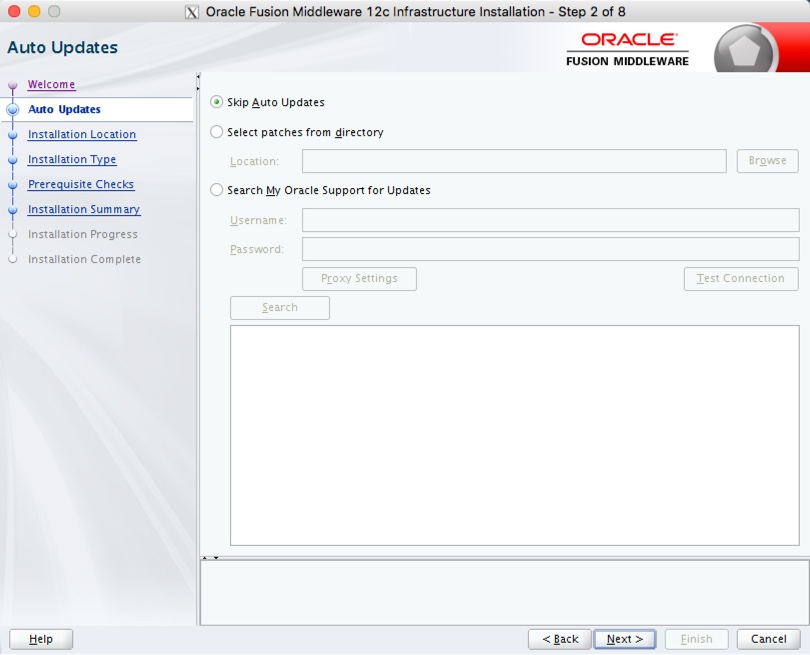
Select the "Skip Auto Updates" options, then click the "next" button.
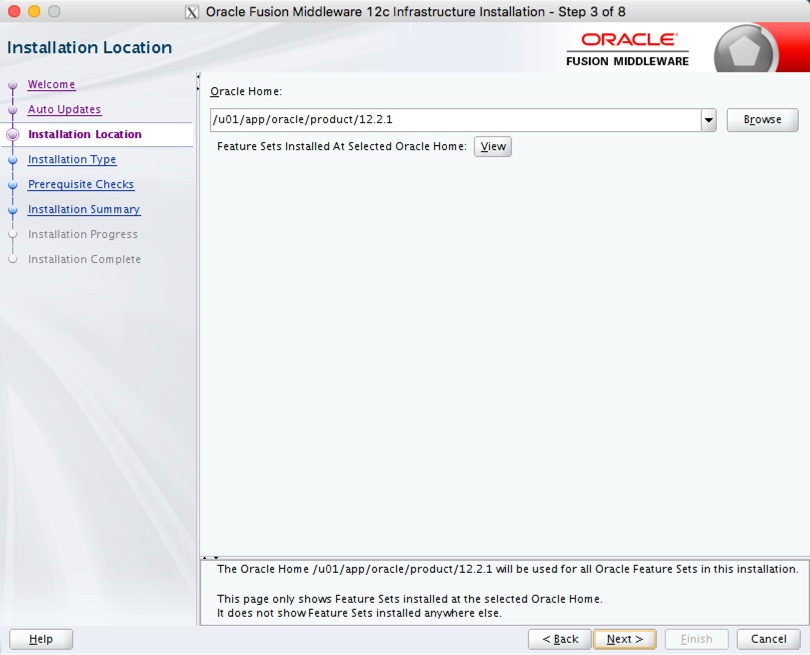
Enter the middleware home ("/u01/app/oracle/product/12.2.1") and click the "Next" button.
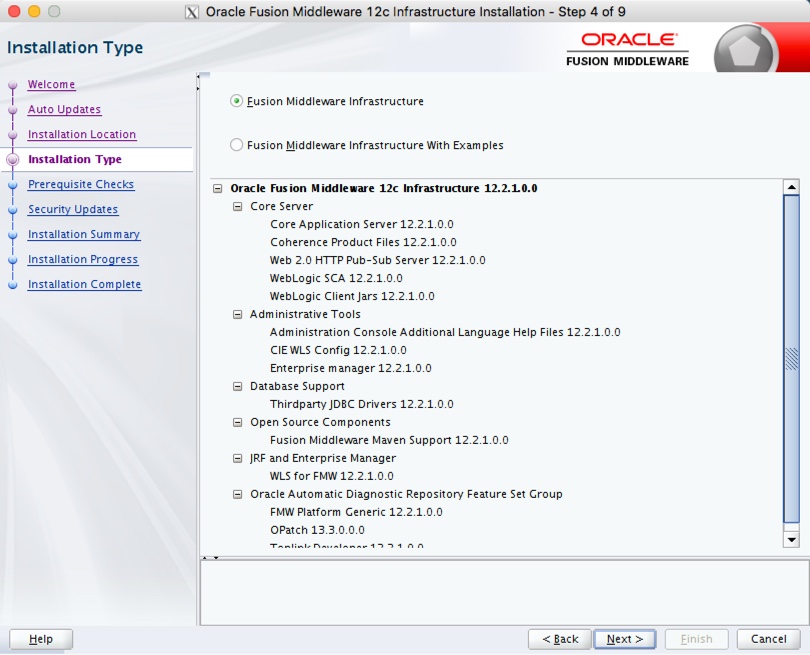
Accept the "Fusion Middleware Infrastructure" option by clicking the "Next" button.
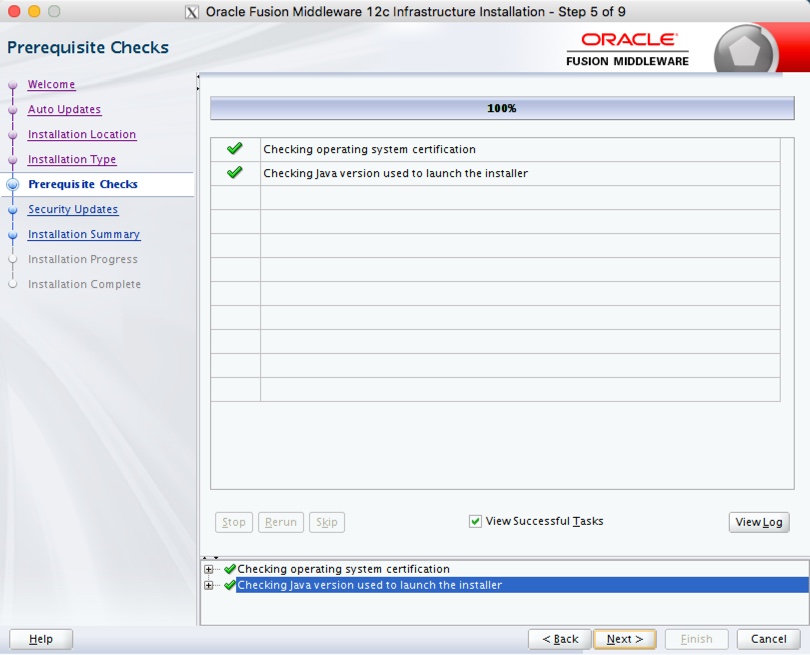
Wait for the prerequisite checks to complete. If there are failures, correct them and rerun the checks. If there are no failures, click the "Next" button.
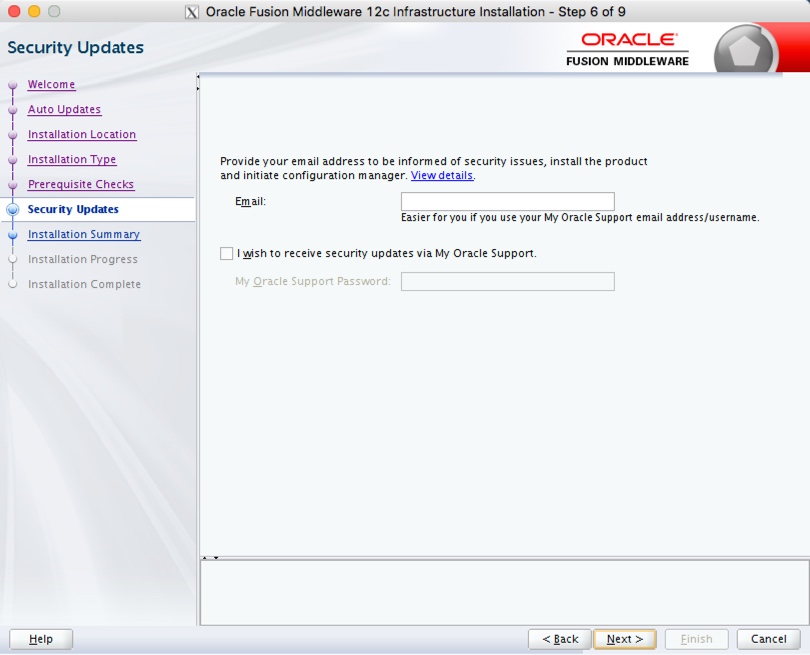
Either enter your support details, or uncheck the security updates checkbox. Click the "Next" button. If you chose not to receive security updates, click the "Yes" button on the warning dialog.
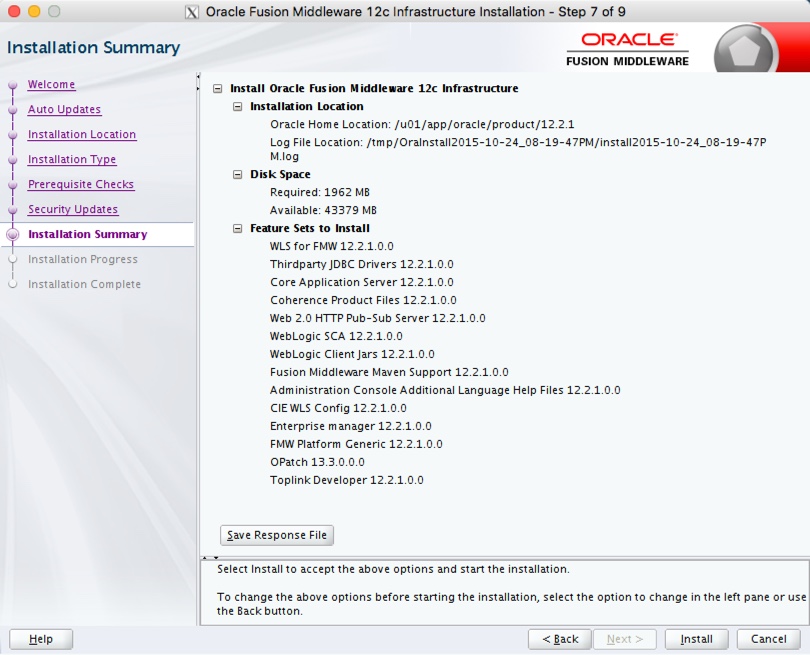
If you are happy with the summary information, click the "Install" button.
Wait for the installation to complete, then click the "Next" button.
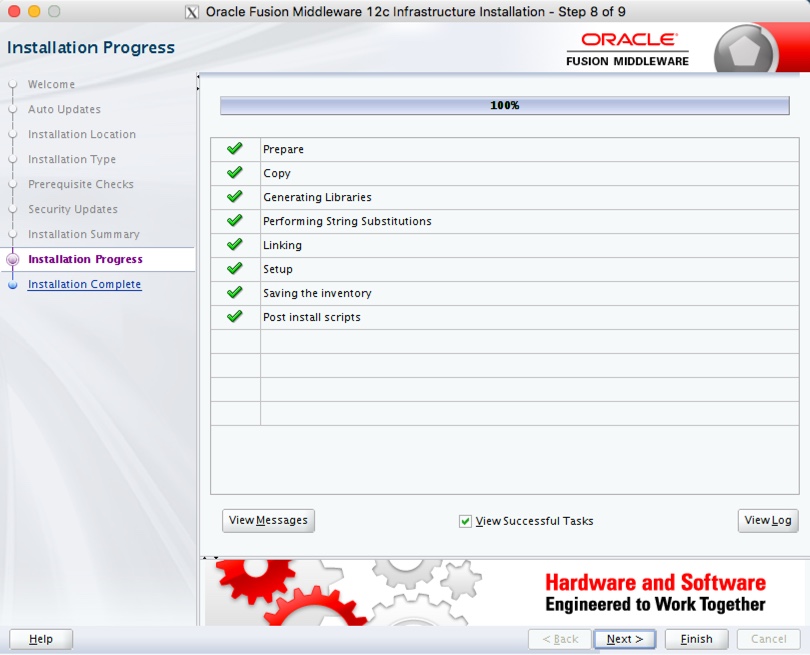
On the installation complete screen, click the "Finish" button to launch the Configuration Wizard.

If you are doing an installation for Oracle Forms and Reports Services, you don't need to create the domain at this point, so stop here.
Create Domain
Launch the Configuration Wizard with the following command.
$ $ORACLE_HOME/oracle_common/common/bin/config.sh
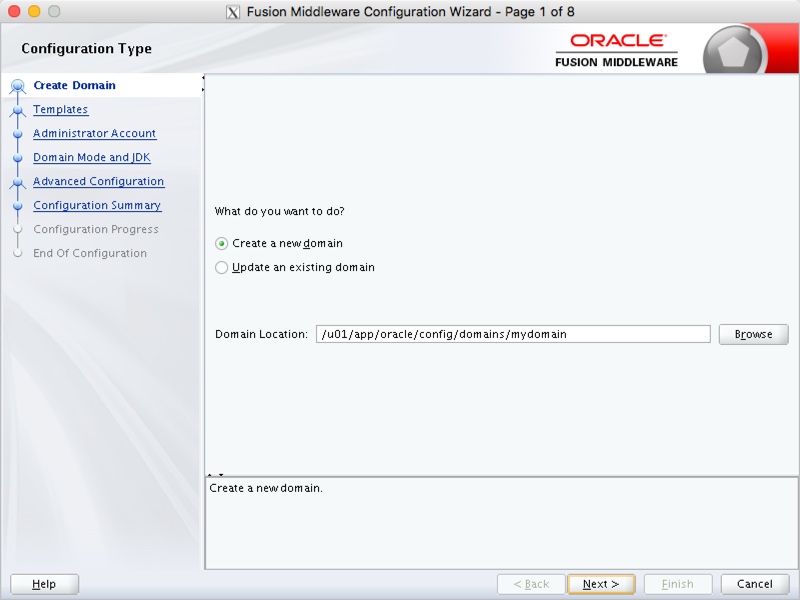
Accept the "Create a new domain" option, enter the domain name at the end of the "Domain Location", then click the "Next" button. In this case my domain was called "mydomain", so the path I used was "/u01/app/oracle/config/domains/mydomain".
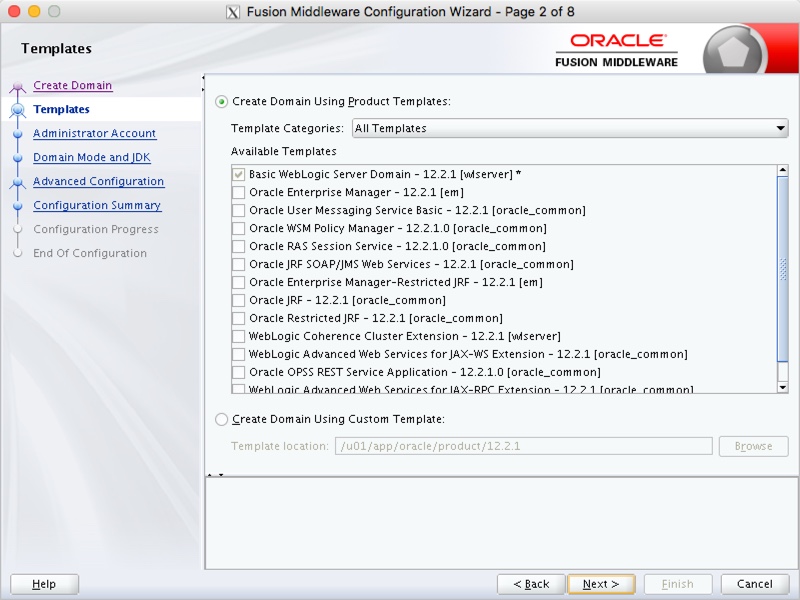
Select the required product template and click the "Next" button.
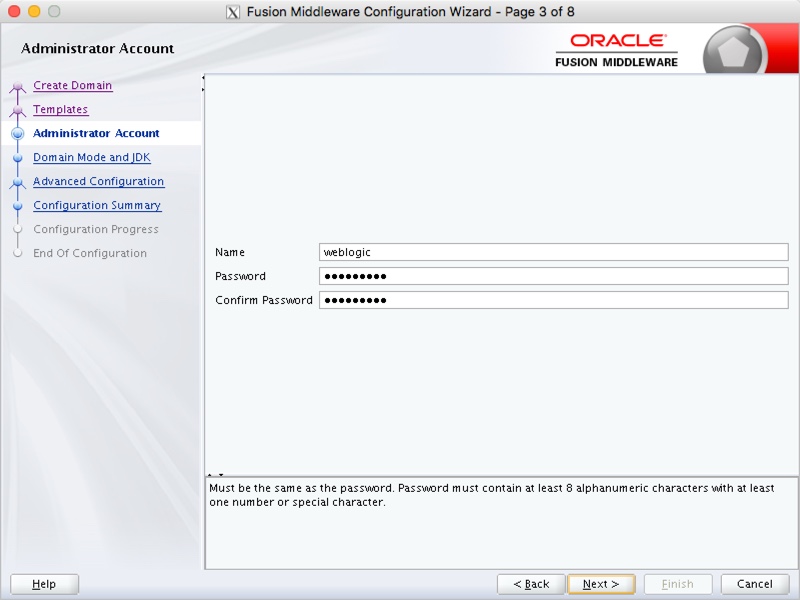
Enter the administrator credentials and click the "Next" button.
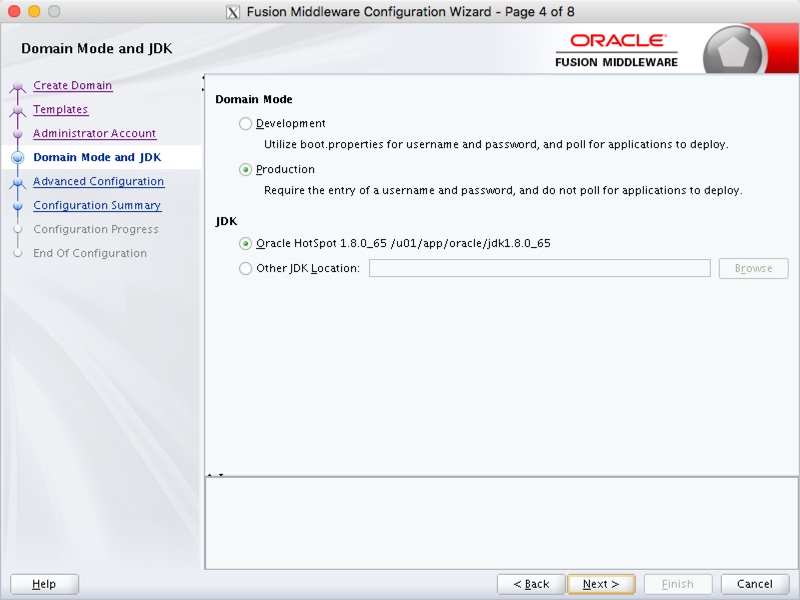
Enter the domain mode and JDK details, then click the "Next" button.
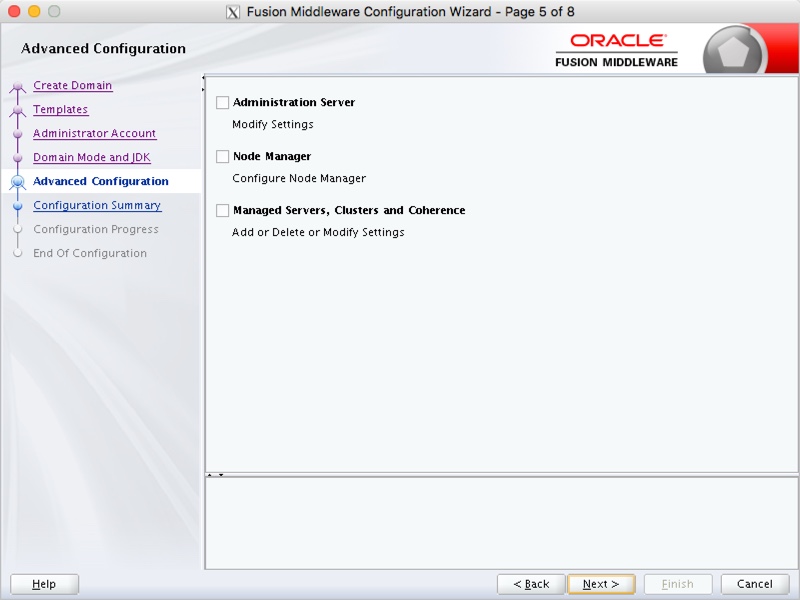
Select any required advanced configuration options. For this example I ignored the advanced configuration. Click the "Next" button.
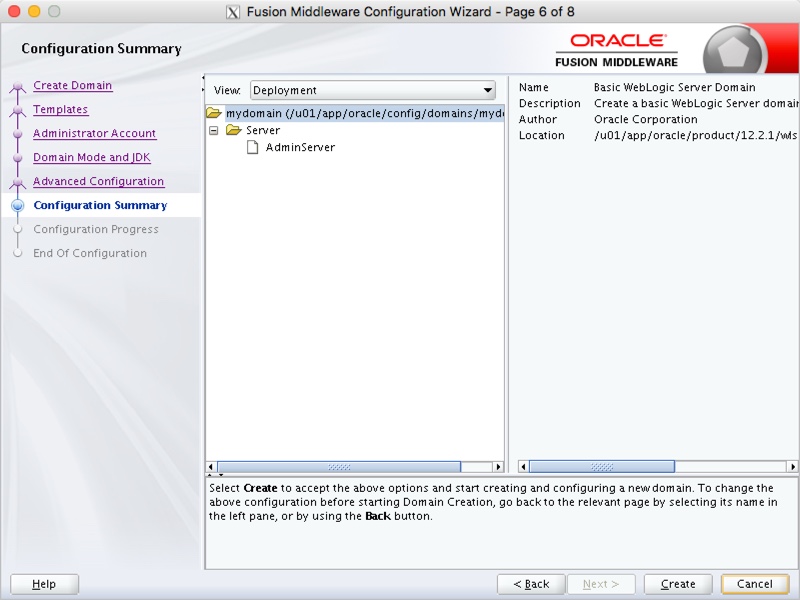
If you are happy with the configuration summary screen, click the "Create" button.
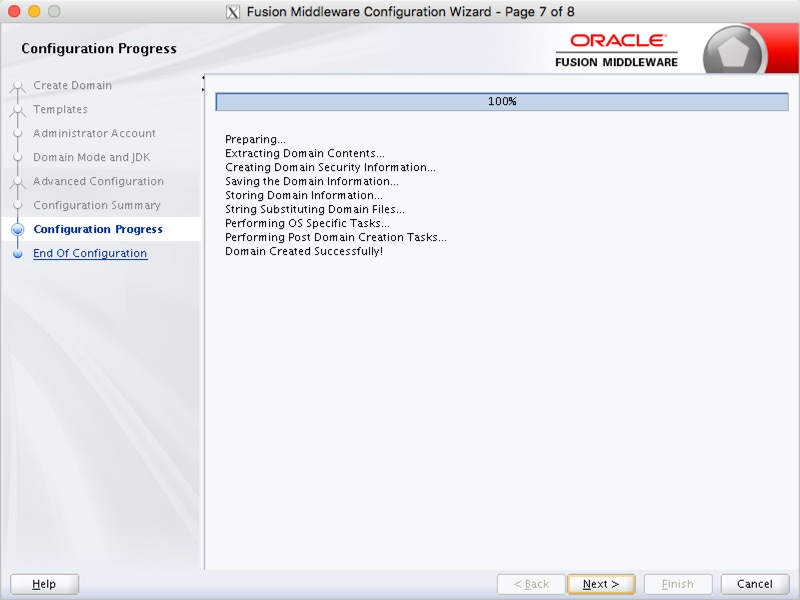
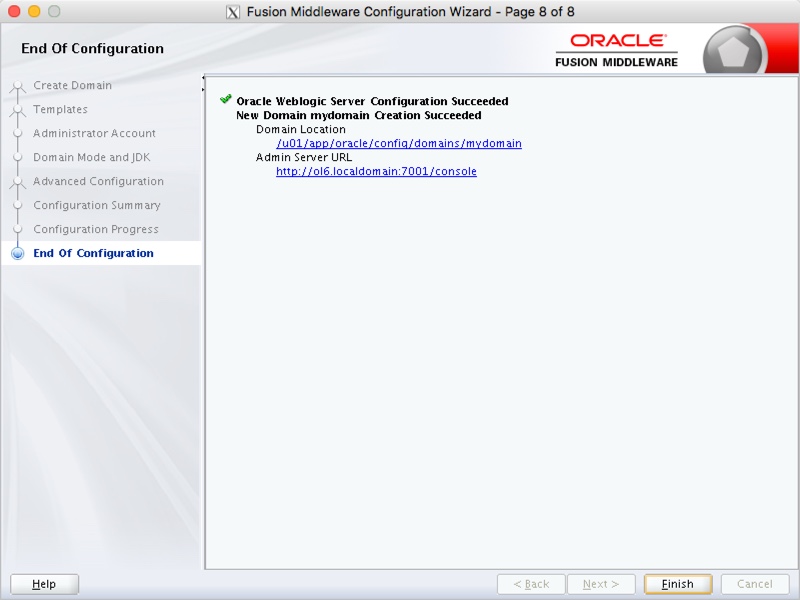
Once the domain is created, click the "Next" button.
Make a note of the Admin Server URL and click the "Finish" button.
Post-Installation
If you chose the "Production Mode" options for the domain, you will need to create a "boot.properties" file for the scripts referred to later to work without credentials. Adjust the DOMAIN_HOME and credentials appropriately.
$ export DOMAIN_HOME=$ORACLE_BASE/config/domains/mydomain
$ mkdir -p $DOMAIN_HOME/servers/AdminServer/security
$ echo "username=weblogic" > $DOMAIN_HOME/servers/AdminServer/security/boot.properties
$ echo "password=Password1" >> $DOMAIN_HOME/servers/AdminServer/security/boot.properties
The "$ORACLE_BASE/config/domains/mydomain" directory now contains a script that can be used to start the server. Remember to use the "&" if you want access to the commandline to be returned.
$ $DOMAIN_HOME/startWebLogic.sh &
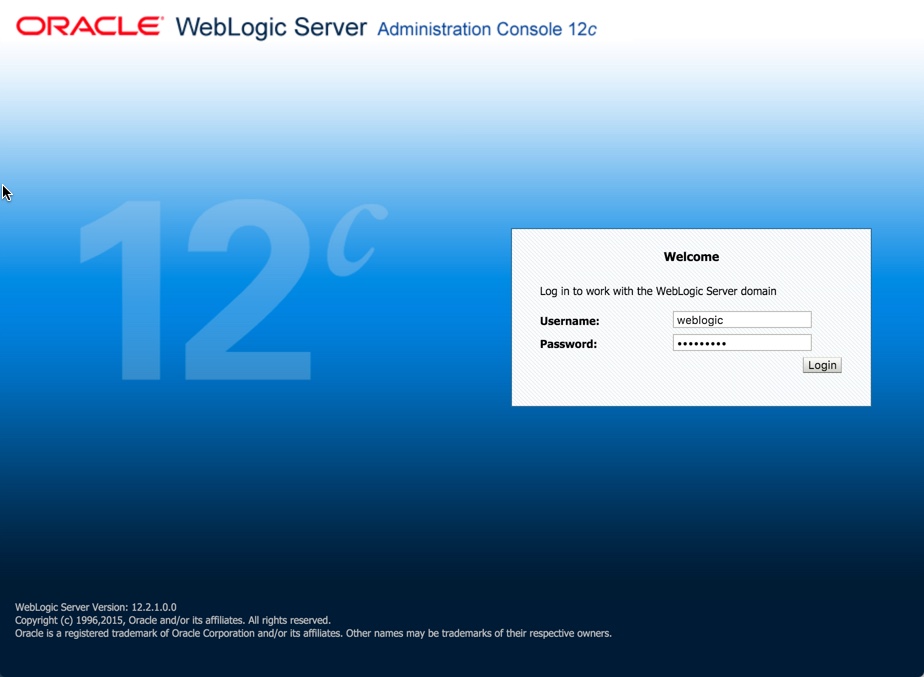
Once the server is started you can access the administrator console using the "http://hostname:port/console" URL. Log in using the username and password provided in the previous step.
The following scripts are useful.
$ # Start NodeManager (if you configured one-per-domain)
$ nohup $DOMAIN_HOME/bin/startNodeManager.sh > /dev/null 2>&1 &


$ # Start WebLogic
$ nohup $DOMAIN_HOME/startWebLogic.sh > /dev/null 2>&1 &
$ # or
$ nohup $DOMAIN_HOME/bin/startWebLogic.sh > /dev/null 2>&1 &

$ # Stop WebLogic
$ $DOMAIN_HOME/bin/stopWebLogic.sh


$ # Start Managed Server
$ nohup $DOMAIN_HOME/bin/startManagedWebLogic.sh AdminServer > /dev/null 2>&1 &

$ # Stop Managed Server
$ $DOMAIN_HOME/bin/stopManagedWebLogic.sh AdminServer


$ # Start the configuration wizard
$ $WLS_HOME/common/bin/config.sh
No comments:
Post a Comment